Introduction
Lately, I’ve been pondering how to create a more balanced experience in my much too urban, modern, busy life. While I make conscious efforts to juggle work, family, fun, and rest, I often get overwhelmed by trying to do everything, putting me close to burnout. However, I refuse to believe that this is the only way to live. While I know there are several commercial options ranging from apps to productivity books (many of which I’ve tried and read), I’ve come to believe it is important for everyone to find their own solutions with their own resources; their own way that hits closer to home.
It was during this search that I was led back to one of my earliest Taoist readings, The Tao of Pooh by Benjamin Hoff. The book is an excellent introduction to Taoist philosophy, showing in simple and concrete ways how we can all live more fulfilling lives by becoming part of the flow of things instead of going against it.
The first, and I think main, Taoist principle that the book talks about is Pu, or as Benjamin Hoff calls it, “The Uncarved Block,” which is a metaphor for life as it is in its natural state. He makes the connection between “Pooh” and “Pu” and how the unpretentious, unambitious stuffed bear can go with the flow of life as it presents itself. For me, “uncarved block” had a different implication. It literally meant the untouched wood blocks from the trees that naturally spawn in Minecraft when you start a new game or discover new areas.
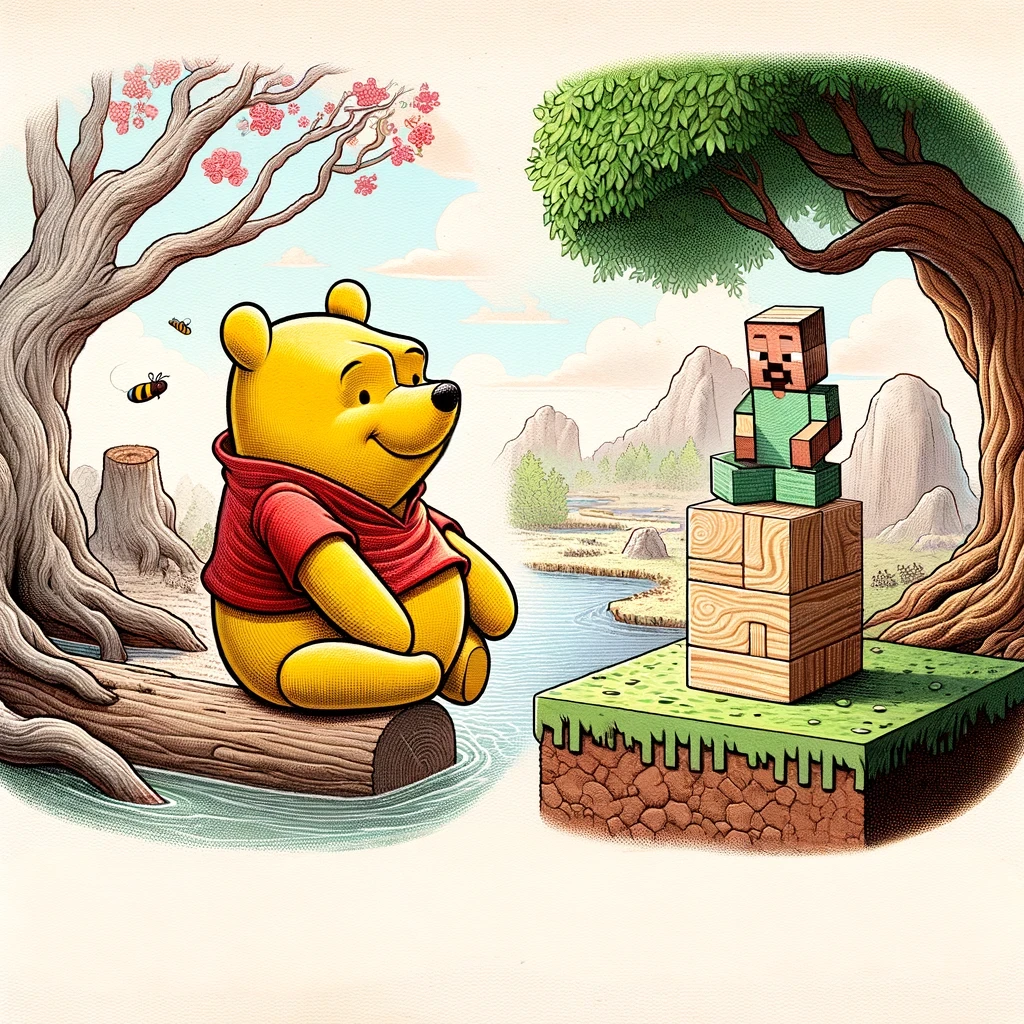
It was then that I decided to use Minecraft as a medium to live through Taoist principles. I believe this approach can offer a creative and immersive way to practice the Taoist ethos without the pressures and distractions of modern society and IRL circumstances.
Let’s dive into this idea and see how Minecraft players can shape it into something practical and meaningful.
Taoist gameplay
Taoism (or more commonly, “Daoism”) encompasses a broad cultural, intellectual, religious, and textual tradition that originated in China around 500 BCE and continues to the present day (Moeller, 2012, p. 298).
The idea of living a Taoist life is based on being one with nature and going with the flow of life. It emphasizes the harmony between opposites (light and dark, feminine and masculine, etc.), simplicity, humility, compassion, and frugality.
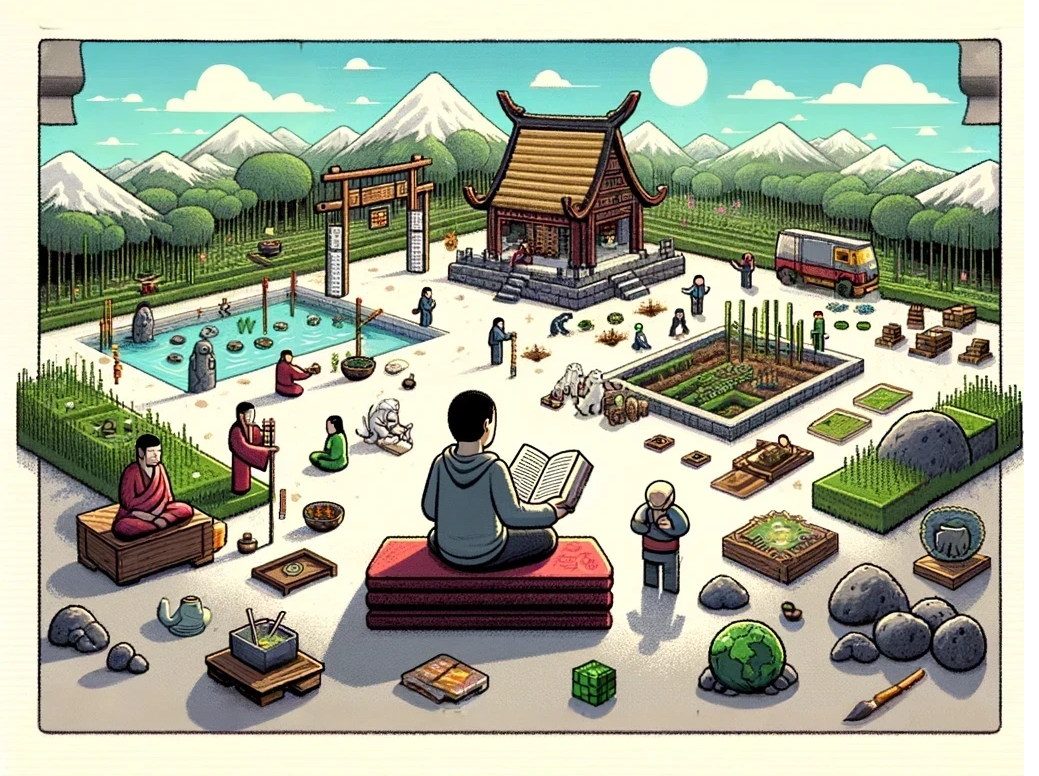
Taoist gameplay is a way to experience and practice Taoist principles inside a game (any game). By adopting a Taoist approach in Minecraft, you can create a virtual experience that mirrors the peaceful and balanced existence that Taoism advocates. This unique playstyle allows players to explore and integrate these spiritual principles in a way that can be both fulfilling and enlightening.
Taoism irl
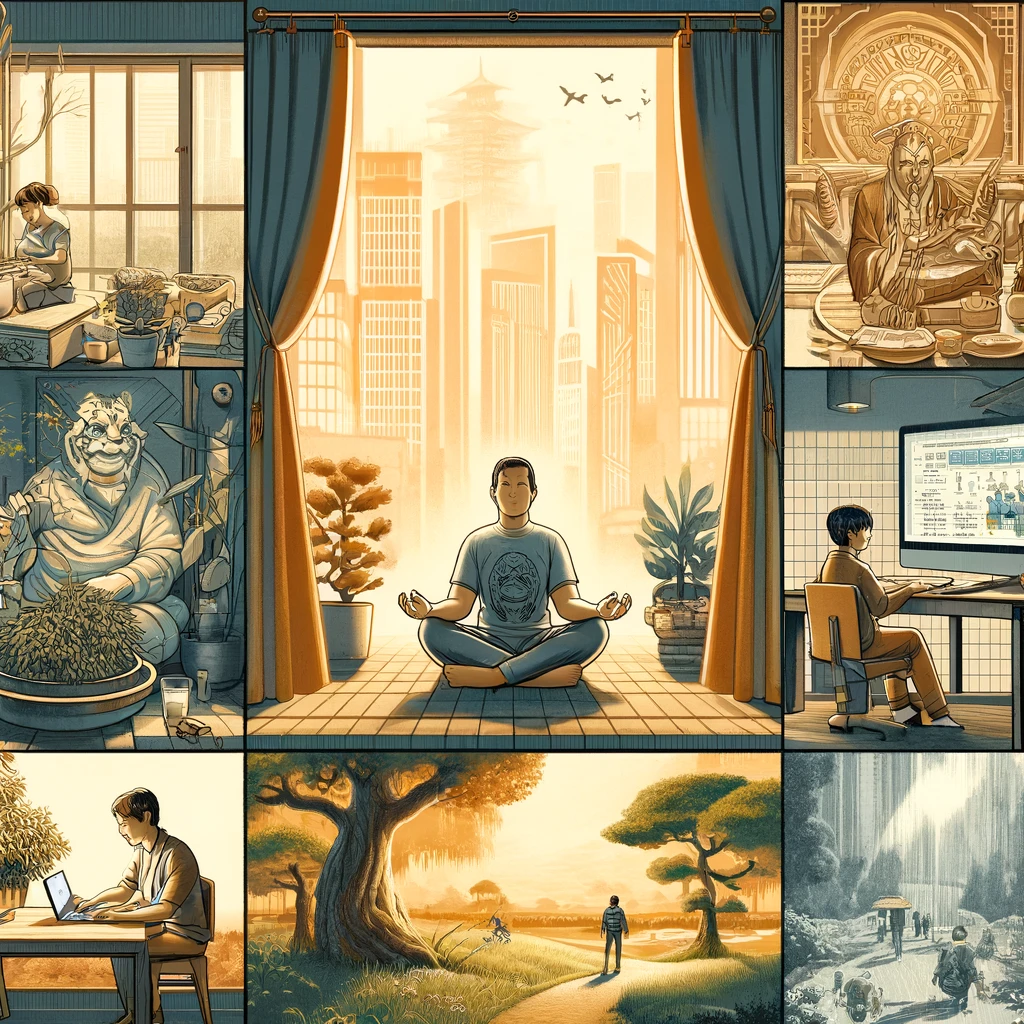
The teachings of Taoism offer a path to spiritual equilibrium by advocating for a life of simplicity, humility, and harmony with nature. Integrating such principles into daily life can be challenging, especially in modern society, where external demands and distractions are omnipresent. It can be done, especially if one takes a relaxed approach and tries to practice them to the extent of one’s ability without, for instance, changing one’s career to something more aligned with nature or giving up a big home where one might be comfortable in favor of a smaller, simpler place. Maybe, for instance, you can’t really afford to leave the city and live closer to nature because of your job or other reasons. However, a relaxed approach to Taoism might mean you could perhaps cultivate some plants inside your home, pay attention to the passing of the day and the people around you, bask in the sun once in a while, or seek comfort under the shade of a tree in a park to meditate.
However, the practice of spiritual principles, no matter how “relaxed” we take them to be, can often be interrupted by life’s circumstances. These interruptions may be fleeting, such as periods of economic worry, or more enduring, rooted in the environment in which one was born. Some people might not have been raised in settings where spiritual principles were emphasized; instead, ambition and the pursuit of knowledge were the primary values they learned. In such environments, the pressures to achieve and succeed can overshadow the importance of spiritual growth and inner peace. This constant drive for external accomplishments can leave little room for introspection and the cultivation of a balanced and harmonious life.
This is where the unique potential of games comes into play. Games can act as an extension of life, providing an alternate environment where spiritual principles can be explored and practiced. These virtual worlds, governed by their own unique rules, offer a sanctuary where players can experiment with and embody spiritual values in ways that may be challenging in their everyday lives. In games, players have the freedom to create their own experiences, set their own goals, and navigate challenges at their own pace. This autonomy allows for a more mindful and intentional approach to gameplay, where the principles of Taoism can be naturally integrated.
Taoism in game
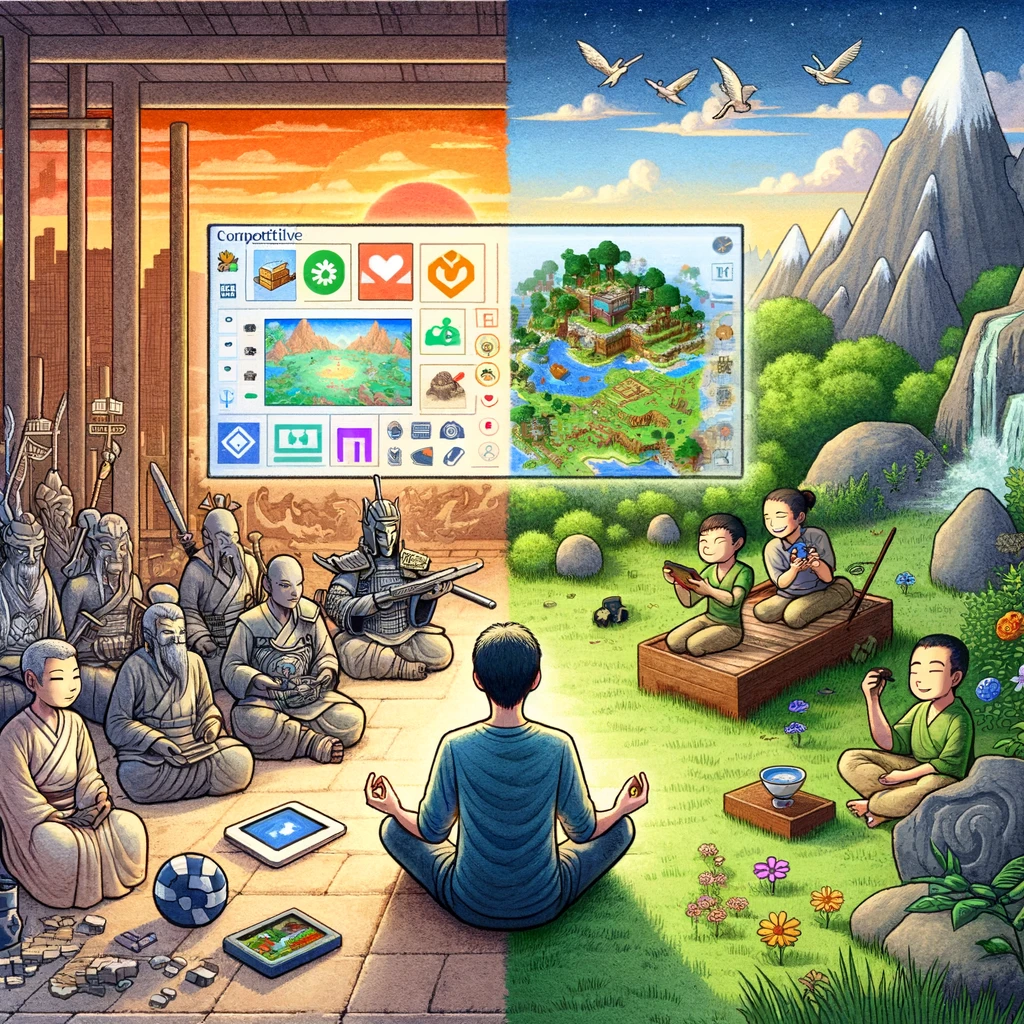
We have established that the search for spiritual grounding often clashes with the demands and distractions of modern life, leaving little room for reflection and inner peace. Similarly, this dynamic is mirrored in the world of gaming, where the design and objectives of most games encourage relentless pursuit of success and dominance. The competitive nature and goal-oriented structure of these games can often overshadow the player’s ability to experience moments of tranquility and balance. However, within this digital landscape, there lies an opportunity to subvert these conventional narratives and explore a more harmonious and mindful approach to gaming, akin to practicing spiritual principles in daily life.
Some, if not most, games naturally incite the player to achieve certain goals or have large ambitions. Take, for instance, Age of Empires, where the main incentive is to be the dominant civilized force in a certain age of humanity. Others have a more blatant approach to large ambitions, encouraging the collection of game badges such as achievements, leader scores, money, or simply defeating the final level and/or boss. Even games with a more peaceful approach, such as farming games (Harvest Moon comes to mind), often incite the player to have more of anything and everything.
In spite of game design, it is possible to subvert most games to experiment with a peaceful and balanced existence. In some games, this might be a short-lived experience. For instance, in a metroidvania game, you might not be able to advance to a different area of the game if you don’t kill all the creatures in your surroundings, and you might find yourself static/trapped in a single area without the possibility of doing anything but avoiding other creatures. Pretty boring, right?
On the other hand, some games (most notably “sandbox” games) offer a more general-purpose approach, where the objectives are set by the player. Minecraft is such a game. In Minecraft, there are no rules, no final destination, no real meaningful way to “finish” the game. There are indeed Minecraft games that have lasted for years on end. People with no Minecraft experience may think this can turn boring, but people who play in those lasting games often think differently. Games like these offer a simulation of reality that sometimes may be impossible to achieve IRL. It is in these games where Taoist gameplay shines the most.
“A sandbox game is a video game with a gameplay element that provides players a great degree of creativity to interact with, usually without any predetermined goal, or alternatively with a goal that the players set for themselves.” (Wikipedia, Sandbox game)
The fact that Minecraft does not offer a predefined set of goals does not mean that it doesn’t incite ambition and imposing one’s will over nature. In fact, the game’s name is a hint to players of what they want you to do in the game: “mining and crafting”. Whatever their play style, Minecraft offers the player high things to conquer. For explorers, one of the ultimate goals has always been to travel to the furthest place possible in the game, which can take months or years to achieve depending on your mode of transportation and Minecraft version. For builders, the possibilities of an open world where every block is a possible thing to build with are infinite. Technical players can often be found improving the automation of certain resources or the efficiency of certain “contraptions” such as elevators, flying machines, automatic doors, etc. There are goals for almost any type of player in existence, and the game reinforces some of them through in-game achievements. However, Minecraft does not require you to play this way. You don’t need to play in any certain way in Minecraft, which makes it perfect for experimenting with an ambitionless, joy-of-the-moment type of play style. Here is where Taoist gameplay comes in.
The Nine Practices in Minecraft
Taoism encompasses various practices that guide individuals toward a life of harmony, balance, and simplicity. These practices can be uniquely explored and practiced within the virtual world of Minecraft, creating a serene and mindful gaming experience. Below are The Nine Taoist Practices and how they can be applied in Minecraft.
- 1. Non-Action (wúwéi 無為):
- Gameplay: Focus on organic building and natural landscapes. Let structures evolve naturally rather than forcing intricate designs.
- Activities: Engage in farming, fishing, and exploring in a relaxed manner, without the rush to achieve goals.
- 2. Softness and Weakness (róuruò 柔弱):
- Gameplay: Embrace a gentle approach to interactions with the environment and creatures. Avoid aggressive actions and focus on harmonious coexistence.
- Activities: Build with soft, natural materials like wood and leaves. Nurture and care for animals, creating peaceful habitats for them.
- 3. Embracing the Feminine (shǒucí 行守):
- Gameplay: Prioritize inclusive actions by creating a welcoming environment for all players, embracing all genders and backgrounds, as well as all living beings in the game.
- Activities: Focus on activities that promote growth and opportunities for all players. Create shelters that provide safety and comfort for players and establish areas where even hostile mobs can exist in their natural state, fostering a balance and respect for all aspects of the game world.
- 4. Being Nameless (wúmíng 無名):
- Gameplay: Avoid attaching labels or grandiose names to creations and achievements. Focus on the essence and function rather than the form.
- Activities: Build simple, functional structures without elaborate decorations. Engage in activities that prioritize utility and practicality over recognition.
- 5. Clarity and Stillness (qīngjìng 清靜):
- Gameplay: Seek quiet and serene environments. Create spaces for meditation and reflection within the game.
- Activities: Spend time in peaceful activities such as watching sunsets, listening to the in-game sounds of nature, and meditating in tranquil spots.
- 6. Being Adept (zhūshàn 諸善):
- Gameplay: Strive for skillfulness and proficiency in tasks. Focus on mastering simple, repetitive activities that require patience and dedication.
- Activities: Practice crafting, farming, and building with care and attention to detail. Perfect the art of creating efficient, sustainable systems.
- 7. Being Desireless (wúyù 無欲):
- Gameplay: Avoid the pursuit of excessive resources and material wealth. Focus on enjoying the present moment and what you have.
- Activities: Live minimally, gathering only what is necessary for survival and comfort. Find joy in simple pleasures like tending a small garden or exploring nearby areas. Avoid any excessive footprint in your environment.
- 8. Knowing How to Stop and Be Content (zhīzhǐzú 知止足):
- Gameplay: Recognize when to stop striving and appreciate the current state of your world. Practice contentment and gratitude for what you have accomplished.
- Activities: Settle in a comfortable home and enjoy the fruits of your labor. Take breaks to reflect on your progress and express gratitude for the game’s beauty.
- 9. Yielding and Withdrawing (tuīràng 推讓):
- Gameplay: Practice yielding in conflicts and stepping back from aggressive situations. Embrace the power of withdrawal and strategic retreat.
- Activities: Avoid confrontations with hostile mobs. Instead, build safe havens and create escape routes. Focus on defensive strategies and peaceful resolutions.
A word on Taoism and diversity
The gaming community, despite its global reach and diversity, still faces significant challenges in creating an inclusive and respectful environment for all players. Issues related to sex, gender, race, nationality, and other backgrounds persist, making it difficult for some players to feel welcomed and respected. To foster a truly inclusive gaming culture, it is essential not only to acknowledge the presence of diverse players but also to actively invite and support them, ensuring a respectful and welcoming environment.
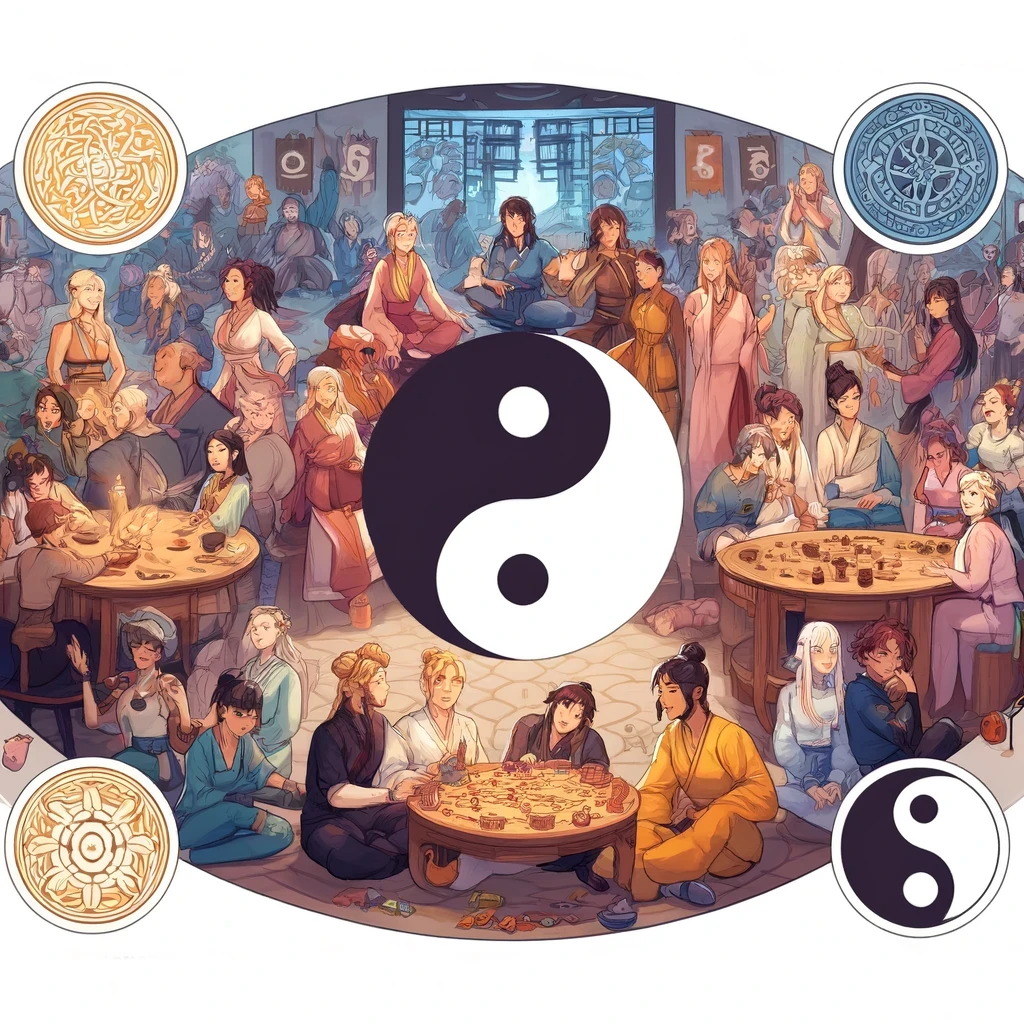
Taoism offers a compelling philosophical foundation for promoting inclusivity and gender equality within the gaming community. Unlike many traditional worldviews, Taoism does not construct a hierarchy where the male dominates the female; instead, Taoism highlights the complementary nature of yin and yang, representing femininity and masculinity, respectively (Moeller, 2012, pp. 303-304). These concepts are depicted as equally valuable, each contributing unique and necessary qualities to the balance of the universe.
Taoist texts often highlight the positive aspects of the feminine, providing a philosophical basis for non-patriarchal or even matriarchal perspectives. Contemporary gender ethics have drawn on Taoist principles to challenge Western patriarchal constructs, demonstrating that male domination is not a natural given but a cultural construct with viable alternatives (Moeller, 2012, p. 304).
Applying Taoist principles to the gaming community can significantly enhance inclusivity. The Taoist concept of Embracing the Feminine (shǒucí 行守) can be reinterpreted through the notion of yin and yang to foster an environment where welcoming, nurturing, and protective actions are not seen as inherently feminine but as essential human qualities. After all, we can all probably think of all kinds of people, not just women, who are welcoming, nurturing, and protective. For instance, think of Lee Everett from The Walking Dead video game series, who takes on a nurturing and protective role for Clementine, guiding and safeguarding her through the perils of a post-apocalyptic world. By recognizing and valuing these qualities in all individuals, the gaming community can create a more inclusive and supportive environment for everyone. Here are some practical steps:
- Active Invitation and Respect:
- Make a conscious effort to invite players from underrepresented groups, including women, into your gaming sessions. Acknowledge their presence and contributions, ensuring they feel valued and respected.
- Use inclusive language and avoid any form of discriminatory or derogatory remarks. Respect everyone’s identity and background.
- Creating Safe Spaces:
- Establish and maintain gaming environments that are free from harassment and toxicity. Implement and enforce community guidelines that promote respect and inclusivity.
- Encourage positive behavior and address any instances of bullying or discrimination promptly and effectively.
- Promoting Growth and Healing:
- Design in-game activities and events that foster cooperation and mutual support. Emphasize collaborative goals that require teamwork and collective effort.
- Recognize and celebrate the achievements of all players, providing positive reinforcement and encouragement.
By integrating these principles, particularly the value placed on the complementary nature of yin and yang, the gaming community can move towards a more inclusive and respectful environment. It is not enough to merely have diverse players present; there must be an active effort to create a welcoming and supportive atmosphere. Through deliberate actions and a commitment to inclusivity, the gaming community can become a place where all players, regardless of their background, can thrive and enjoy their gaming experiences. Embracing these values not only enhances the gaming culture but also sets a powerful example of equality and respect for other aspects of society.
Methodology
- Set your game mode to “Hardcore” to emphasize the fleeting nature of existence and to get the chance to practice different aspects of Taoism each time. If you are not good at survival, you can choose a different game mode.
- Before creating your new world, purposely read a chapter of the Tao Te Ching or the Zhuangzi. In Taoist gameplay, the player begins their Minecraft session by reading a chapter from the classic Taoist texts. Chapters are small enough so that this doesn’t get tedious and they often encompass one single topic. The objective is to practice the principles outlined in that chapter during this life (in hardcore mode). This immersive approach encourages players to integrate Taoist philosophy directly into their in-game actions and decisions, enriching their experience with deep, meaningful engagement.
- The classic text Zhuangzi (or Chuang Tzŭ) by Zhuangzi, translated by Herbert Allen Giles is in public domain and a version is hosted at: https://en.wikisource.org/wiki/Chuang_Tz%C5%AD_(Giles)
- Game progression:
- Begin with minimal resources. Gradually gather materials only when needed.
- Focus on sustainable living from the start, planting trees and crops early on.
- Follow The Nine Practices to the best of your ability:
- Integrate The Nine Principles in your gameplay.
- Make an active effort to create a welcoming and supportive atmosphere for all players, thus embodying the extended view of the third principle.
- Nobody is asking for perfection. Just do your best and take it slowly.
- Daily Routines:
- Set a daily routine that includes meditation or quiet reflection times.
- Balance work and rest, ensuring not to over-exert in any task.
- Interaction with Environment and Players:
- Interact with the environment respectfully, avoiding unnecessary destruction of nature.
- Collaborate with other players to create a harmonious community, sharing resources and knowledge.
- Reflection and Adaptation:
- Keep a Minecraft journal to reflect on how the principles of Taoism are being experienced in your gameplay.
- Adjust your gameplay based on reflections, ensuring you stay aligned with Taoist principles.
Final thoughts
In Minecraft, players can choose to focus on simple living, building modest shelters, and cultivating gardens. They can choose to flow with the game’s natural processes, such as the day-night cycle and seasonal changes, rather than imposing their will upon the world. This mode of play fosters a sense of harmony and balance, mirroring the Taoist ideal of living in sync with the natural world. Moreover, the temporary nature of in-game progress and the potential for loss in Hardcore mode underscore the Taoist understanding of impermanence and the importance of living in the moment.
By navigating these digital realms, individuals have the opportunity to reflect on and integrate these principles into their consciousness. The lessons learned in virtual worlds can translate to real-life practices, encouraging a more mindful and balanced approach to daily living. Players can carry the ethos of simplicity, humility, and harmony from their gaming experiences into their real-world interactions and decisions. In this way, games not only provide an escape from the pressures of modern life but also serve as valuable tools for spiritual growth and the practice of Taoist principles.
Through the lens of gaming, Taoism can be experienced in a tangible and accessible way, offering a bridge between ancient wisdom and contemporary life. By embracing the principles of Taoism in both virtual and real worlds, individuals can cultivate a deeper sense of peace, balance, and harmony, enriching their overall well-being and fostering a more meaningful connection with the world around them.
Acknowledgements
I would like to extend my sincere thanks to several individuals and tools that made this blog post possible:
- OpenAI’s ChatGPT-4o: For brainstorming ideas, assisting with redaction and copy editing, and creating the images. All images in this blog post were generated with the help of ChatGPT-4o.
- Reviewers: A heartfelt thank you to robot3humans0, Tanz31, and YeetPreyLove for their invaluable feedback and suggestions. Any remaining mistakes are entirely my own.
Your contributions have greatly enhanced the quality and clarity of this work. Thank you for your support and insights.
References
Hoff, Shepard, & Shepard, Ernest H. (1983). The Tao of Pooh. Penguin Books.
Moeller, H.-G. (2012). Taoism. In Encyclopedia of Applied Ethics (pp. 298–305). Elsevier. https://doi.org/10.1016/B978-0-12-373932-2.00217-9
Wikipedia Contributors. (n.d.). Lee Everett. In Wikipedia, The Free Encyclopedia. Retrieved June 9, 2024, from https://en.wikipedia.org/wiki/Lee_Everett
Wikipedia Contributors. (n.d.). Sandbox game. In Wikipedia, The Free Encyclopedia. Retrieved June 9, 2024, from https://en.wikipedia.org/wiki/Sandbox_game
Wikipedia Contributors. (n.d.). Taoism. In Wikipedia, The Free Encyclopedia. Retrieved June 9, 2024, from https://en.wikipedia.org/wiki/Taoism
]]>